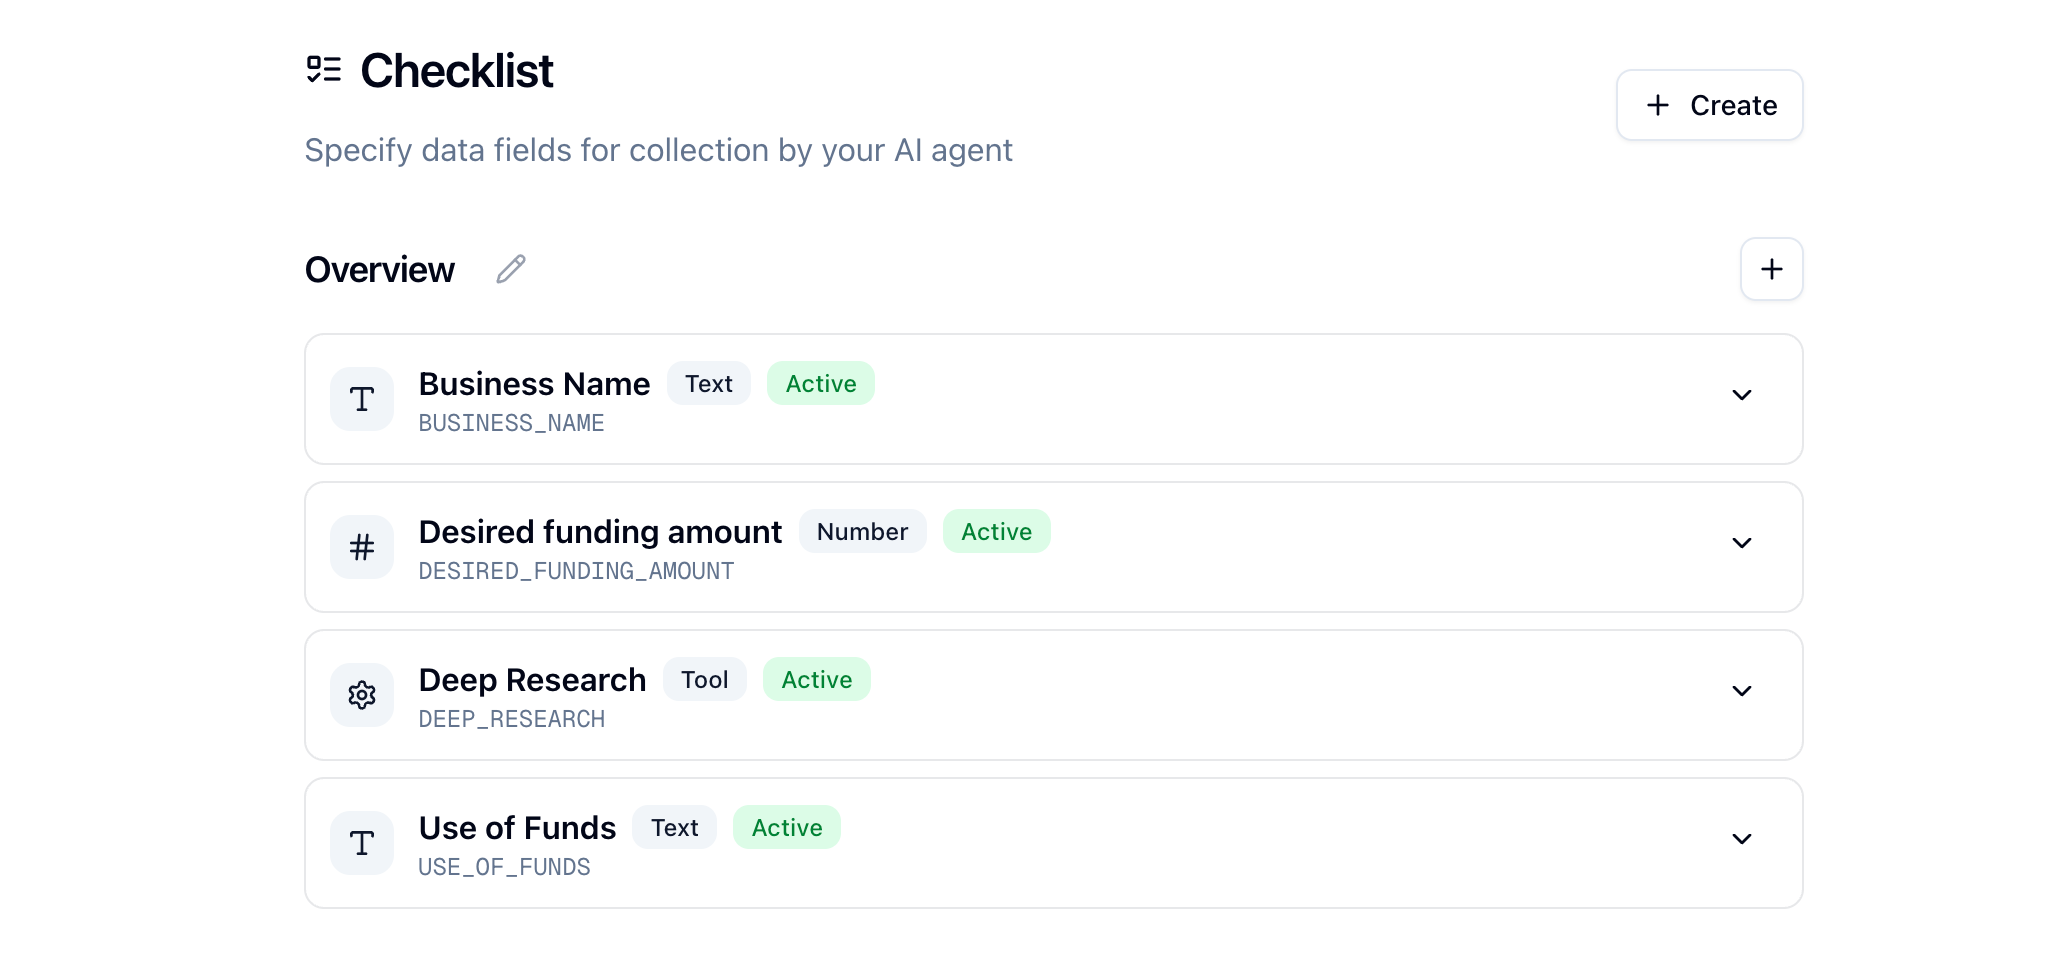
Checklist
The agent’s main goal is to collect information from leads and help them complete the onboarding process. The checklist defines what information and documents are required from each applicant.Overview
The checklist is a structured list of items that need to be collected from leads. Each item can be:- Required or optional: Mark which items are mandatory
- Different field types: Text, file upload, date, address, EIN, etc.
- Validated: Configure validation rules for each item
- Grouped: Organize items into logical groups
Setting Up Your Checklist
1. Create Checklist Groups
Organize your checklist items into groups (e.g., “Business Information”, “Financial Documents”, “Ownership Information”).2. Add Checklist Items
For each item, configure:- Label: Display name for the item
- Field type: What kind of data is expected (text, file, date, etc.)
- Required: Whether this item is mandatory
- Validation rules: Custom validation logic
- Help text: Guidance for applicants
- Client instructions: Instructions shown to applicants
3. Configure Validation
Set up validation rules for each checklist item:- Format validation: Ensure data matches expected format
- Document validation: Validate uploaded documents
- Custom rules: Define custom validation logic
When the agent receives a document, it will try to classify the document and
see if it matches one of the checklist items. If yes, then it will apply the
validation rules to the document.
Field Types
Supported field types include:- TEXT: Free-form text input
- FILE: Document upload
- DATE: Date picker
- ADDRESS: Address input
- EIN: Employer Identification Number
- Custom types: Additional field types as needed
Document Matching
The agent automatically:- Classifies documents to identify their type
- Matches documents to checklist items
- Validates documents against configured rules
- Extracts data from documents to populate checklist items